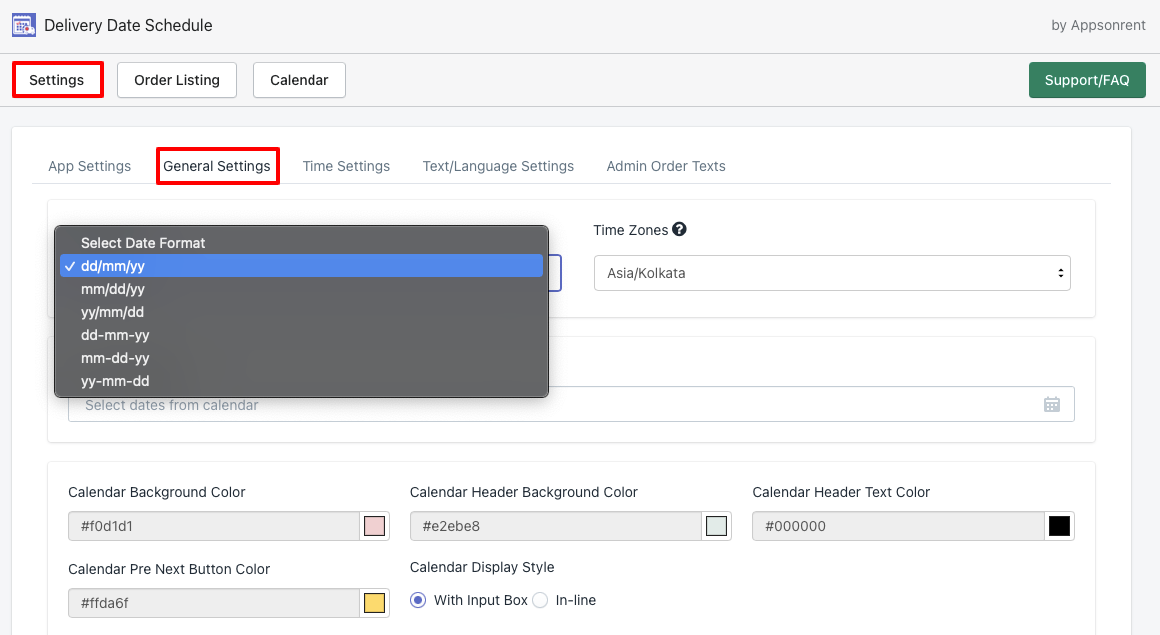
- Date Format:
- Time Zones
- Disable Dates
- Calendar Background Color
- Calendar Header Background Color
- Calendar Header Text Color
- Calendar Pre Next Button Color
- Calendar Display Style
- Custom CSS
- Minimum Delivery Lead Days
- Maximum Available Days
- Date and time required
- Hide slots according to the current time
- Date and time order tag
Let’s understand each feature that are available in the General Setting in detail
Date Format: #
Date formats show the option for the format of the date. in that, you can select your preferred date format.
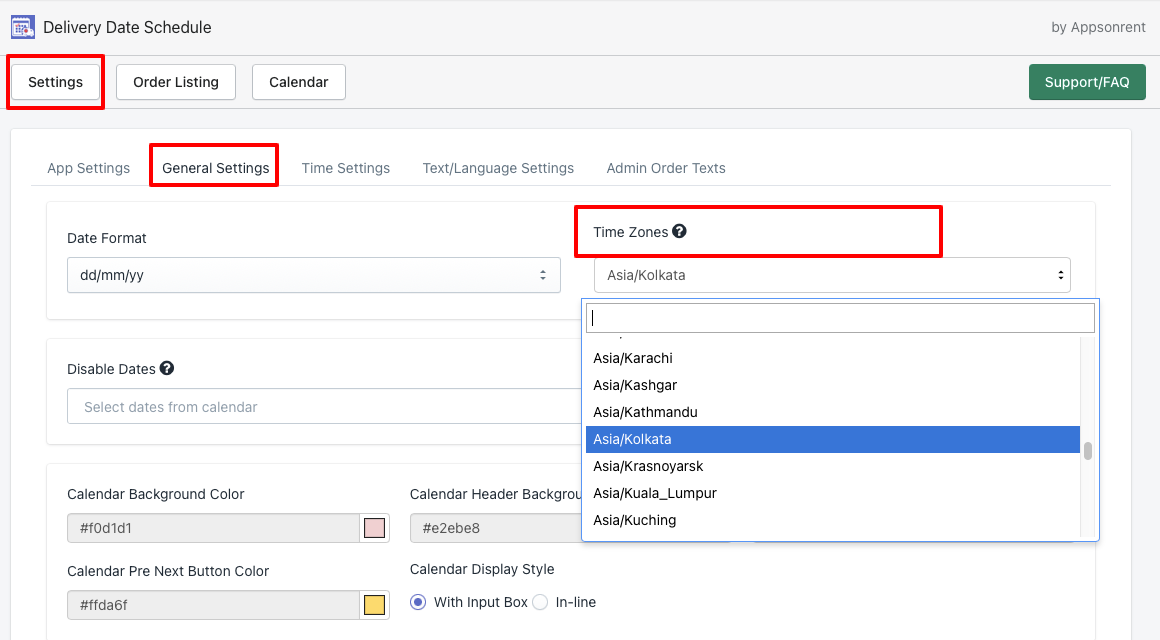
Time Zones #
The time zone option allows you to select your preferred time zone to allow delivery times to work with.
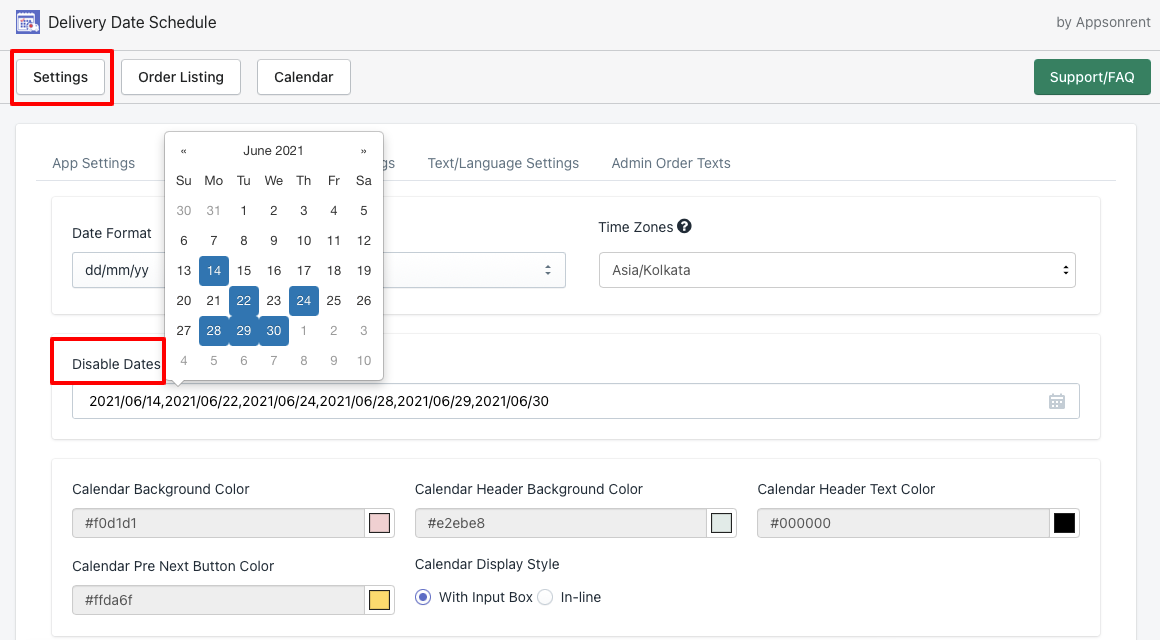
Disable Dates #
This option is used to set holiday and non working days for the store. You can select multiple dates for the holidays by selecting multiple dates in that option.
Calendar Background Color #
This option is to change the background color of the calendar.
Calendar Header Background Color #
This option allows changing the background color of the month text.

Calendar Header Text Color #
This option allows changing the text color of the month.
Calendar Pre Next Button Color #
This option allows changing the icon color of the Pre/Next month change button.

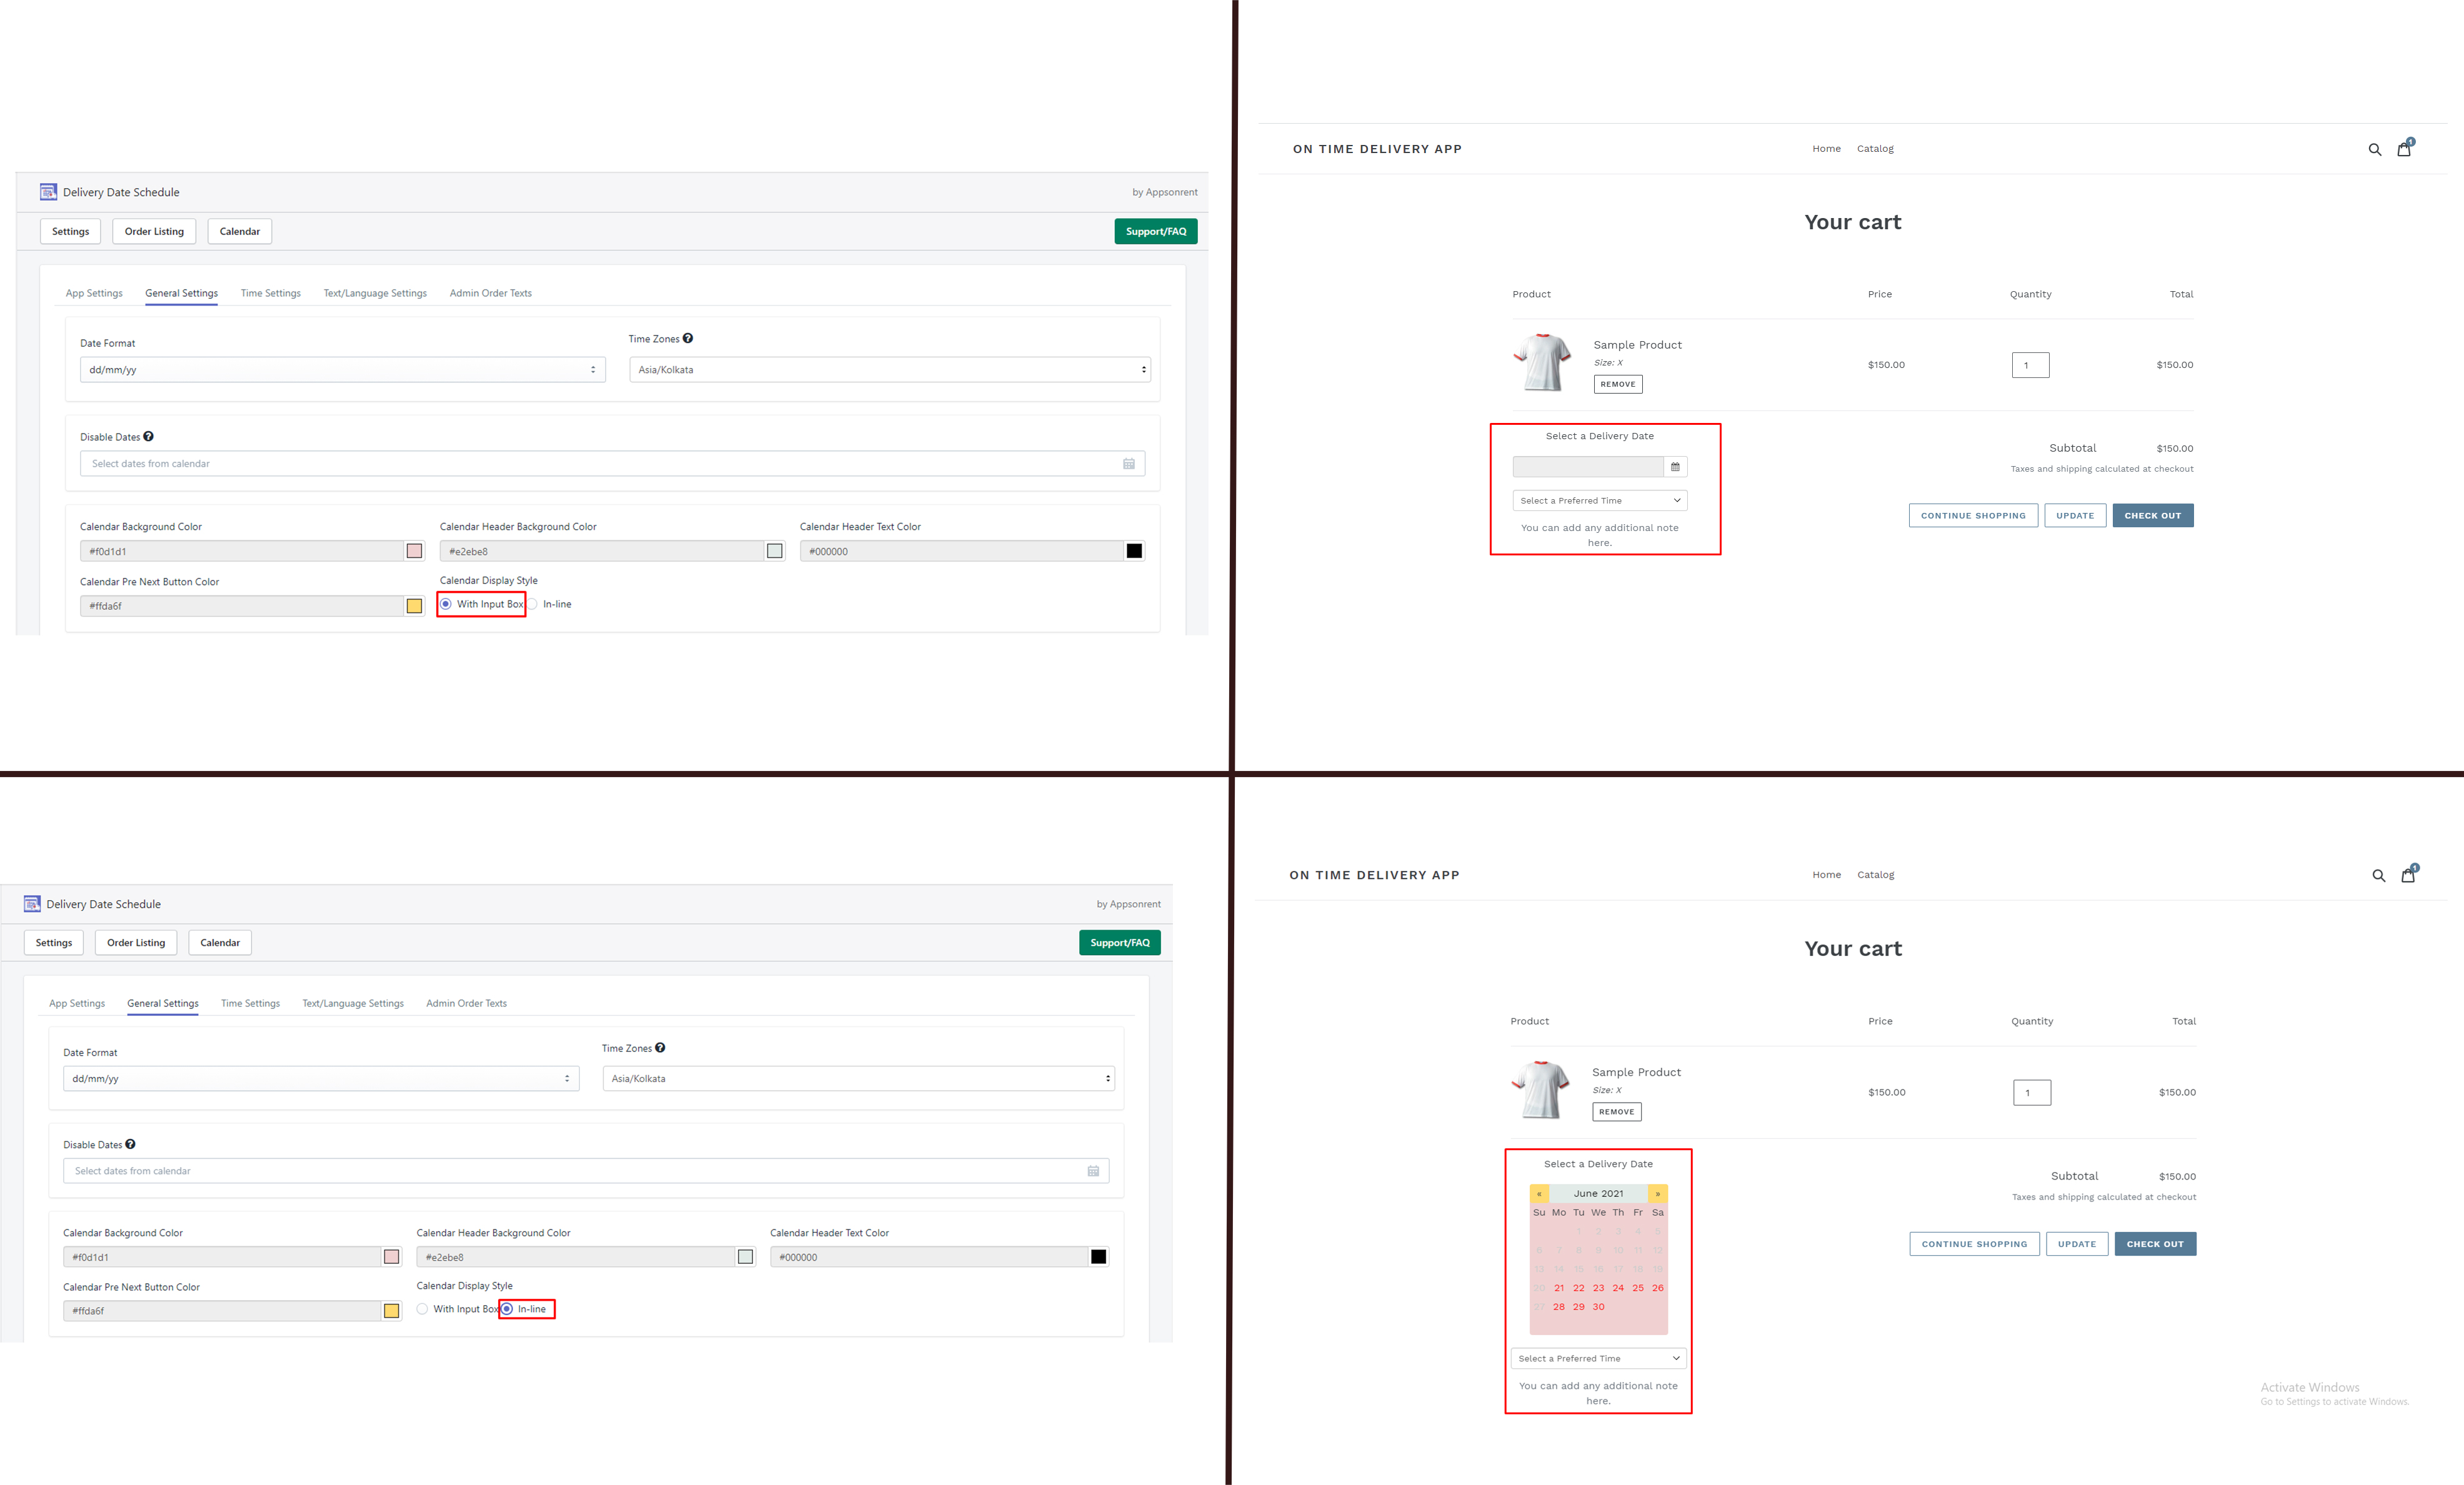
Calendar Display Style #
There are two types of calendar displays.
- With input box
- In-line
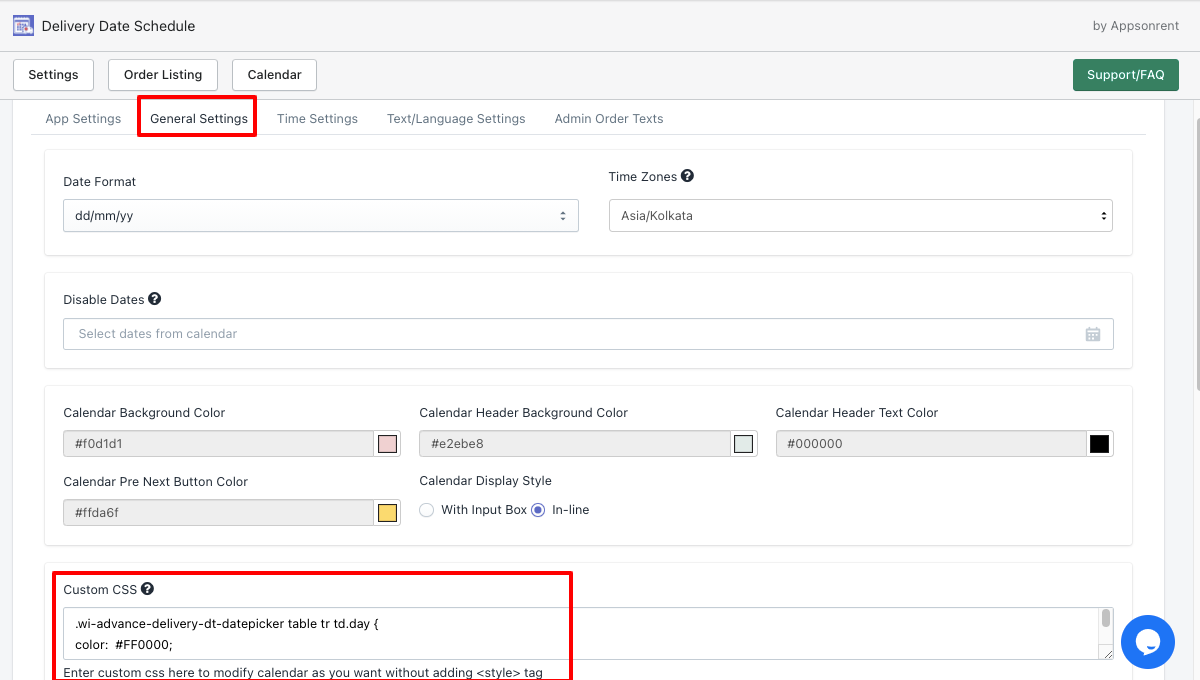
Custom CSS #
You can add your own CSS code to change or make tweaks in the default calendar and can change the view of the calendar like available delivery dates color, disabled/past delivery dates color, and selected delivery date color.
Minimum Delivery Lead Days #
This option allows skipping the number of days you enter in this option. Suppose, you want your customers to pick the delivery date after 3 days from the day of order to select their delivery. You can add 3 values to that option and on the cart page, the customers will select a delivery date after 3 days.
Maximum Available Days #
This option allows showing the maximum delivery dates in the calendar. For example, if you want to allow customers to select a delivery date from the next 7 days then you can use this option.
Date and time required #
This option will allow forcing the delivery will be selected before doing the checkout. So any customers who try to do checkout without the delivery date and time, they’ll see the required message before going to the checkout page.
Hide slots according to the current time #
In this option, you can hide the time slots according to the current system time. For example, in the app’s dashboard, you have added time slots as per the following.
- 09:00 AM
- 10:00 AM
- 11:00 AM
- 12:00 PM
- 01:00 PM
- 02:00 PM
- 03:00 PM
- 04:00 PM
- 05:00 PM
And now your current system time is 12:40 PM so when this option is enabled, your customers can select time slots from 01:00 PM till 05:00 PM for the delivery.
Or if you don’t have enabled this option then your customers can see all time slots from 09:00 AM to 05:00 PM. This option will prevent the customers to select the past time for the same date delivery.
Date and time order tag #
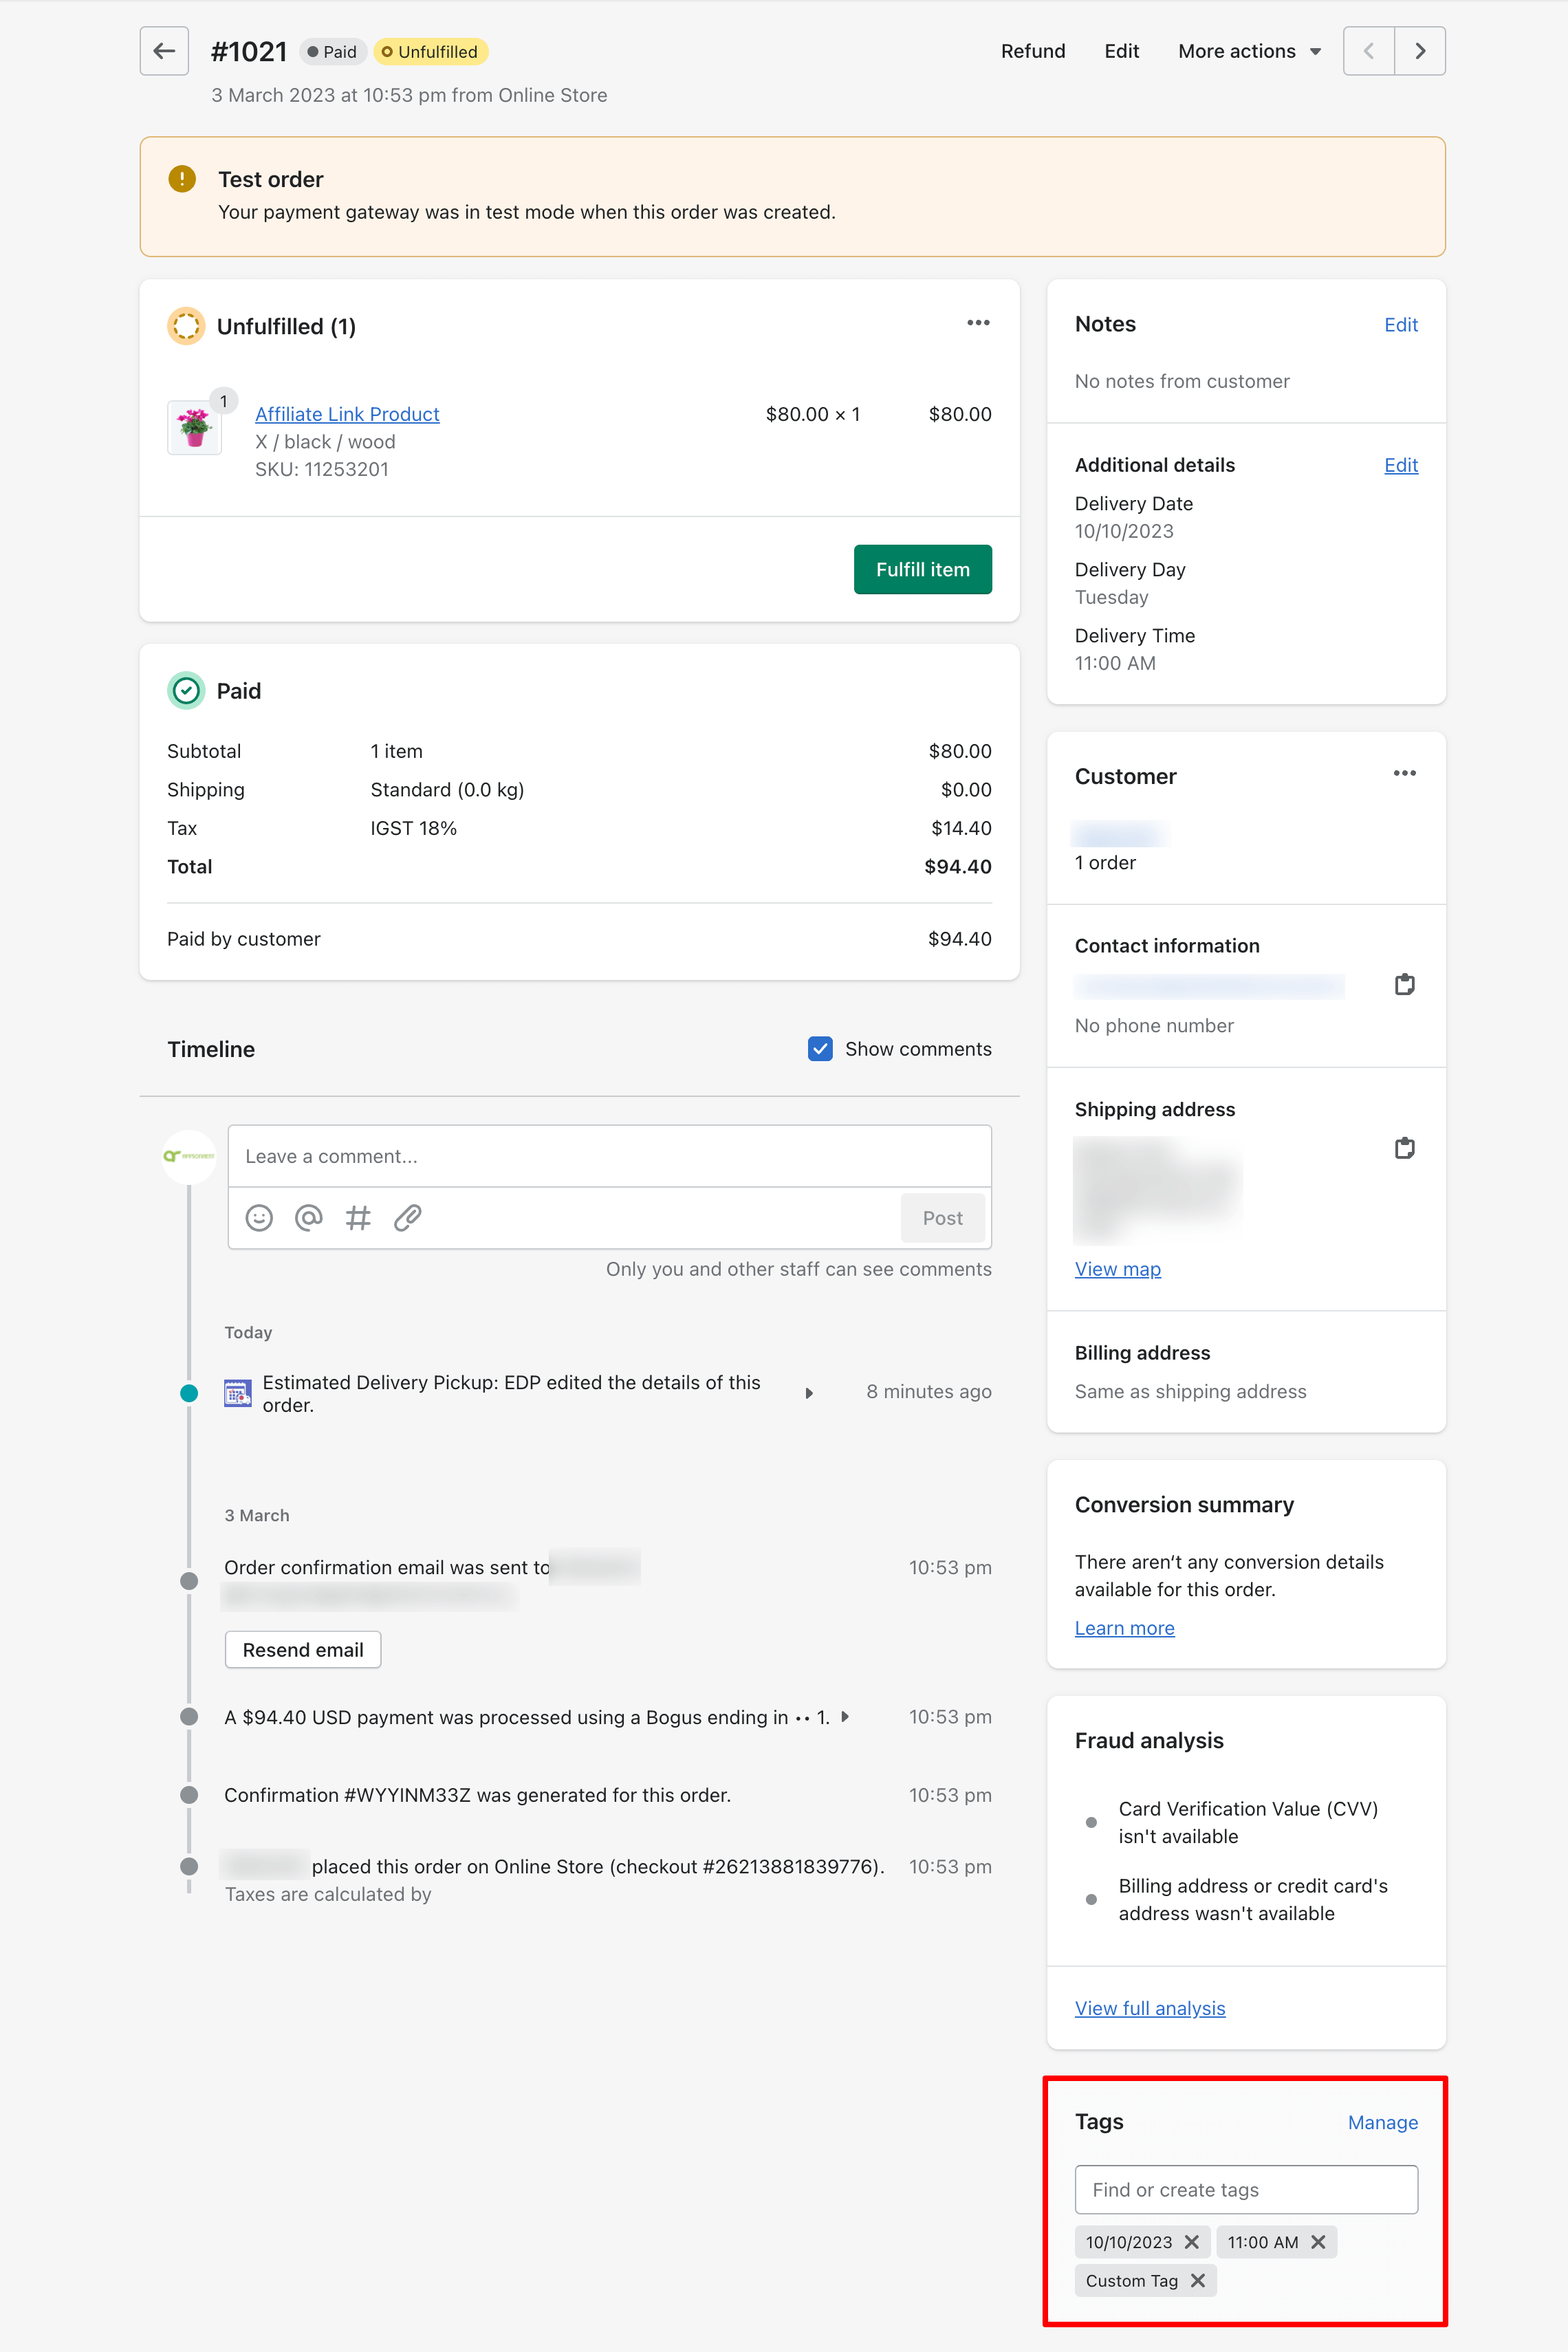
When this option is enabled by checking the checkbox, the selected delivery date and time will be added as the tag on the Shopify order page.
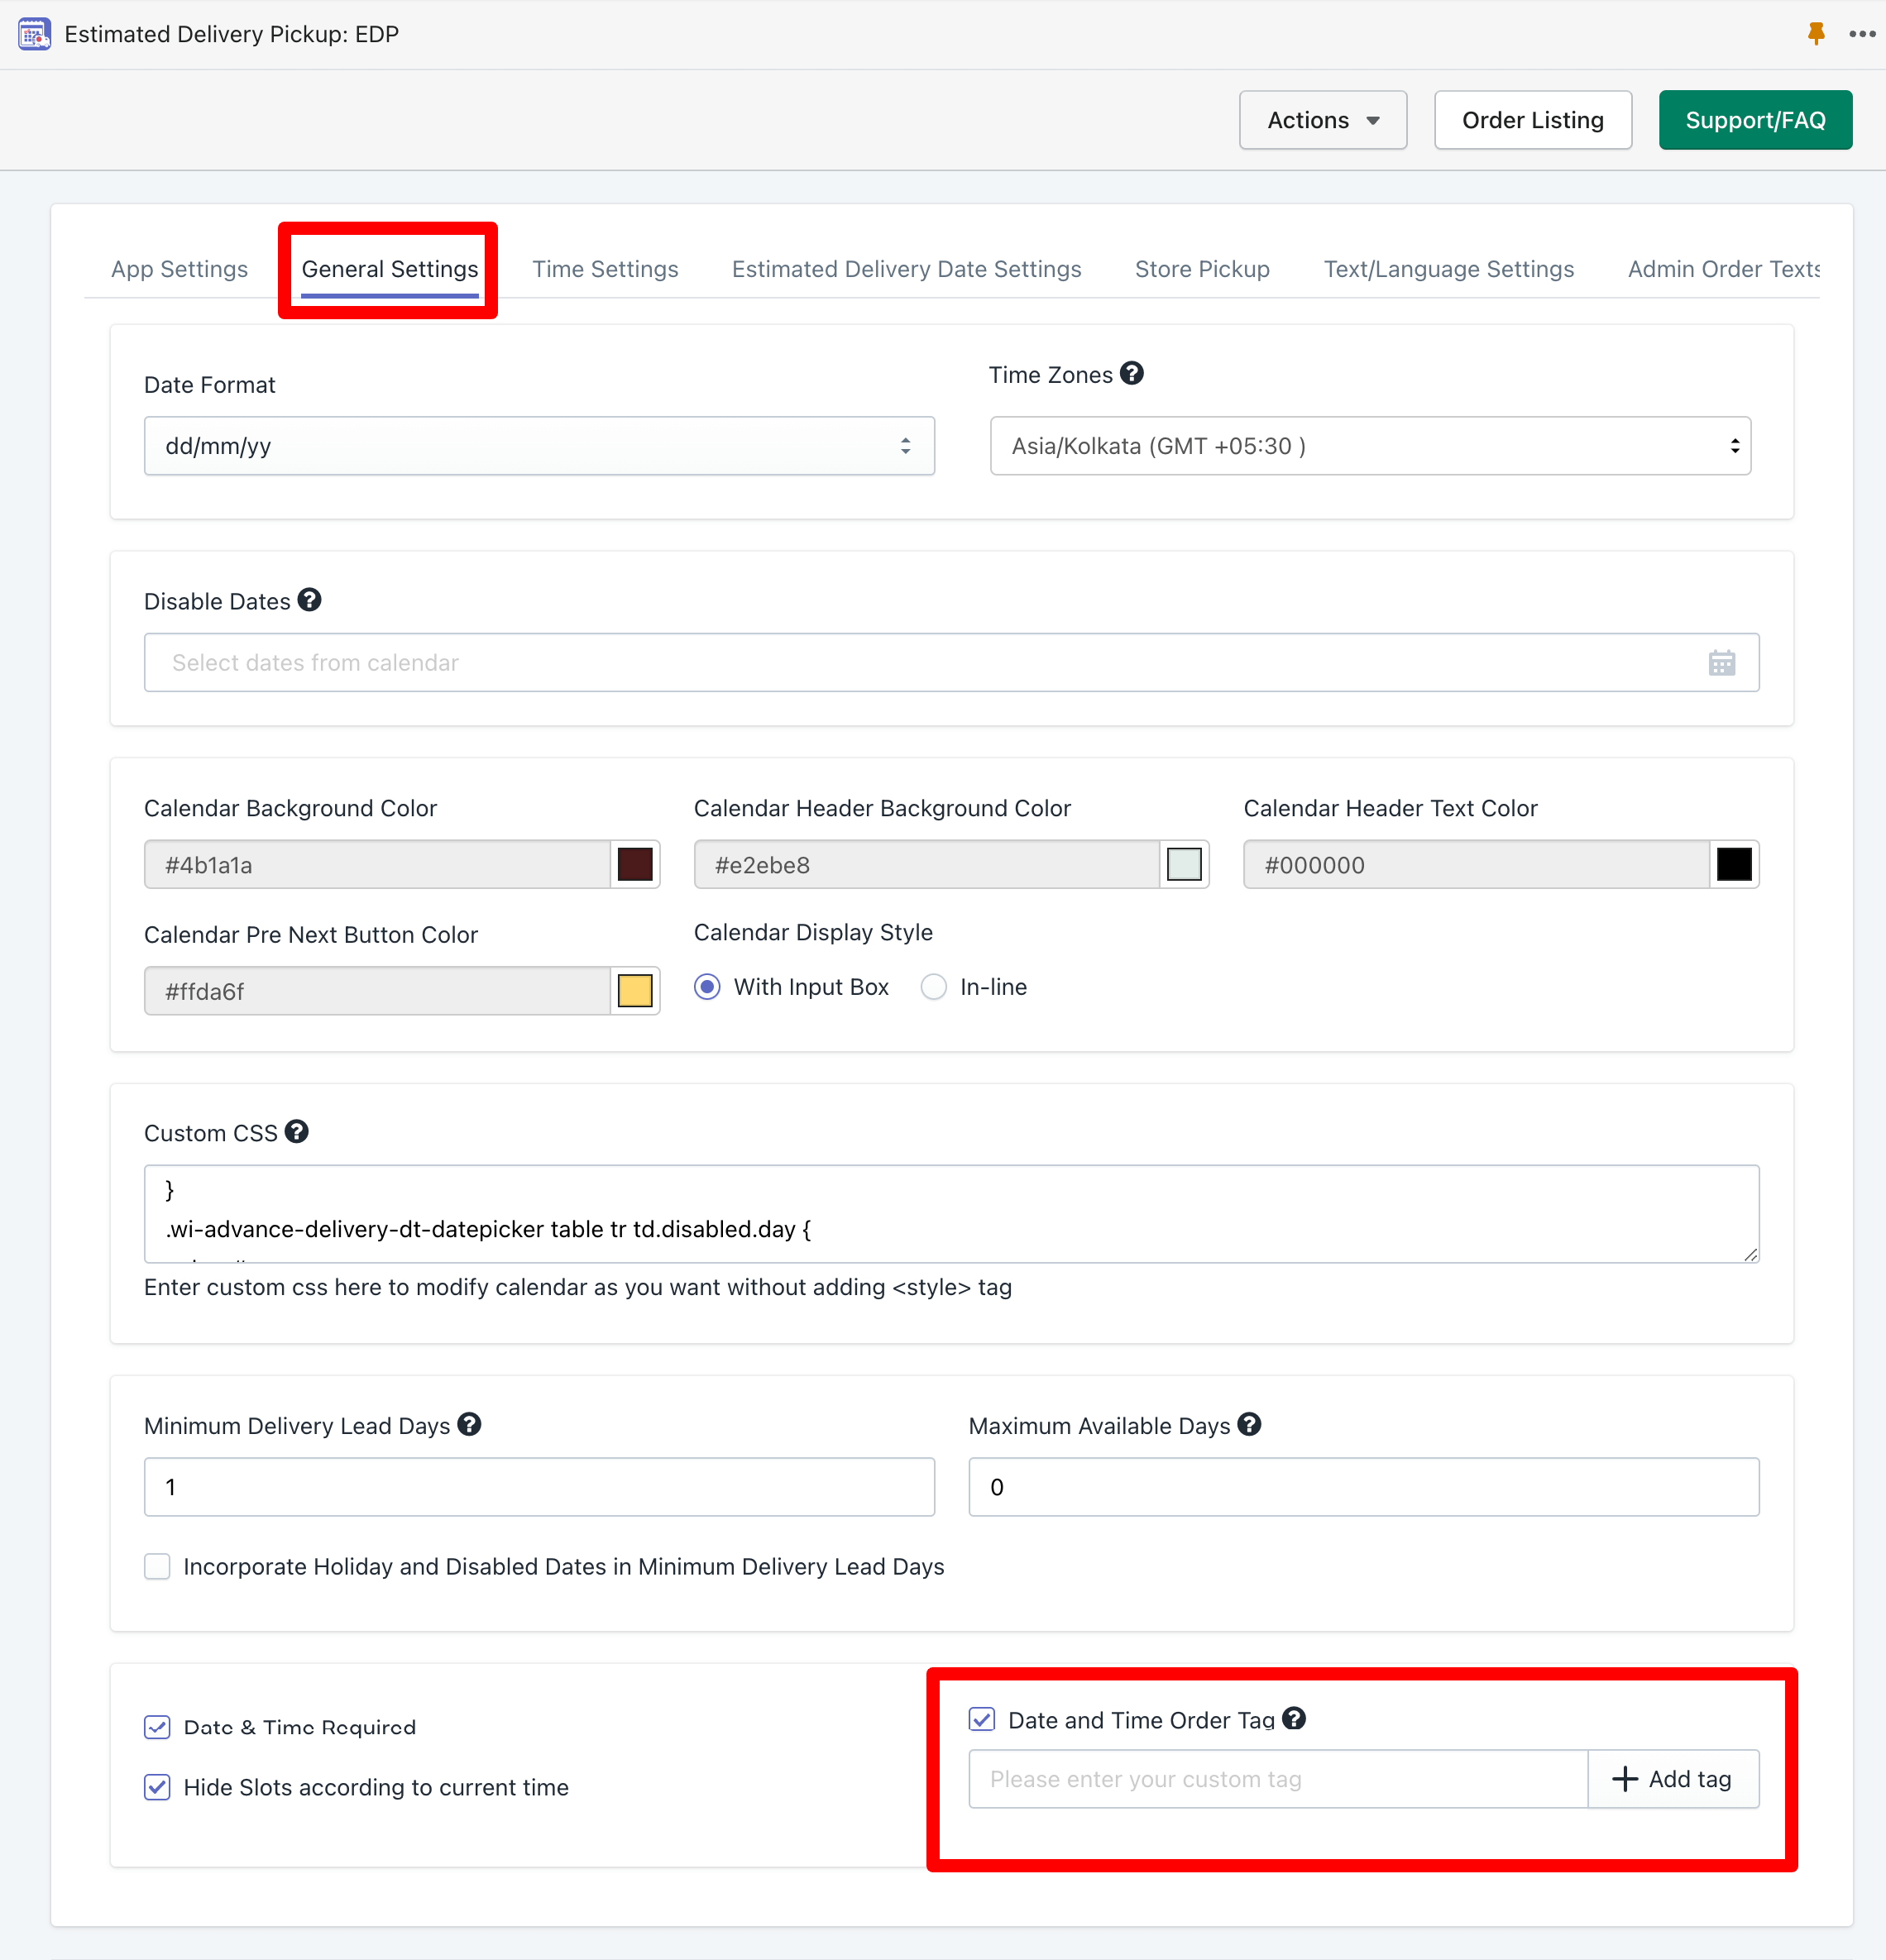
There is an additional input option available to add a custom tag in the order so you can identify the order from the Shopify order listing page and know the order easily. That makes order management easier.

